

Open this route in the app to prepare your next outing.

Details
Approach
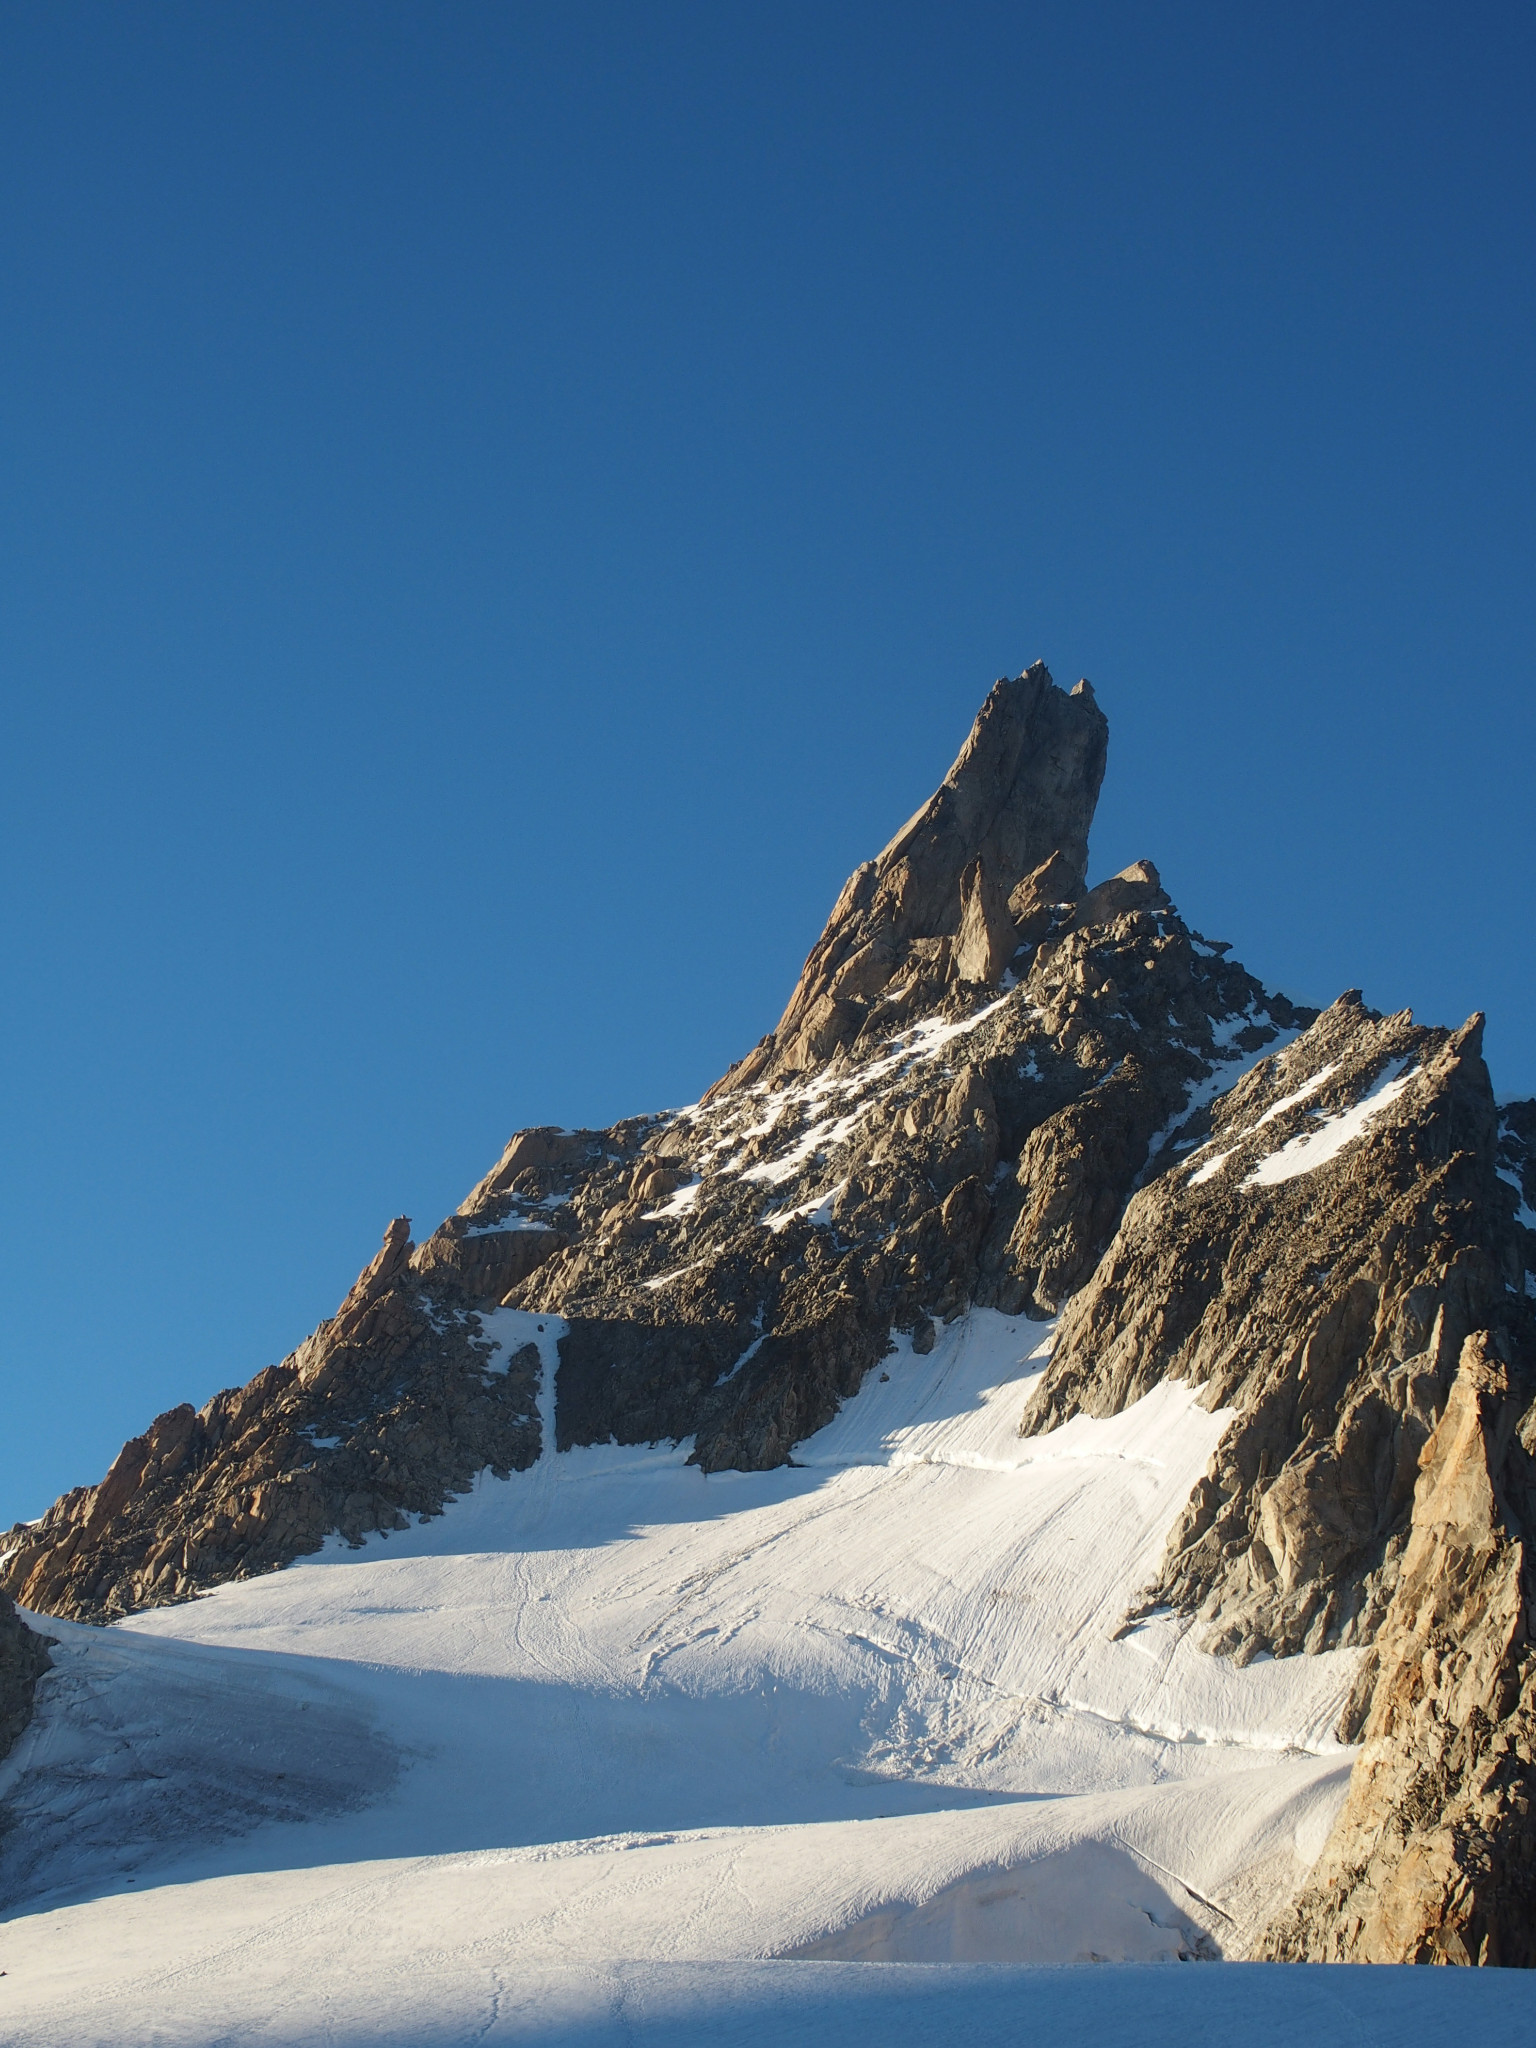
As for the normal route, but go to the right at the level of the first bolt to make a belay at the foot of a chimney corner. (You can climb this pitch even if someone is on the normal route, without causing problems.)
Route
L# | 5b | 15m | Start as for the normal route, then at the level of the first bolt go to the right to make a belay at the foot of an obvious chimney corner, (no in-situ gear, a used sling visible in the corner.)
L# | 6a | 40m | Climb the corner, a move of 6a at the level of a little overhang, with a mantleshelf/pull-up on smallish flakes, then easier towards the ridge on cracked rocks. (Belay at the foot of a large, closed corner.) L# | 5c | 25m | Climb up the back of the corner, then slightly to the right on the ridge. Belay at the top of the corner. L# | 5c+ | 30m | Climb a slightly overhanging crack, then continue until vertically below the fixed ropes on the normal route. L# | 5c+ | 30m | Climb the wall by a crack system on the right to reach a peg, (clearly visible from below,) in a slab. (Easier than it looks.) Make an upwards traverse to the right to reach the front of the pillar. Belay at a large block on the ridge. L# | 5b | 45m | Climb an obvious crack system, then belay at the level of the normal route at the end of the difficulties. L#| | 100m | Move together until the two summits, the furthest one is the highest.
Descent
In 3 abseils, (bolted) down the S face. See description for normal route for more information.

The text and images in this page are available
under a Creative Commons CC-by-sa licence.
Download the Whympr App to view this route in 3D.
- Route search (100 000)
- Community returns
- Weather forecast
- Avalanche bulletin
- Race book
- Creation of tracks
- Topographic map (including IGN)