

Open this route in the app to prepare your next outing.
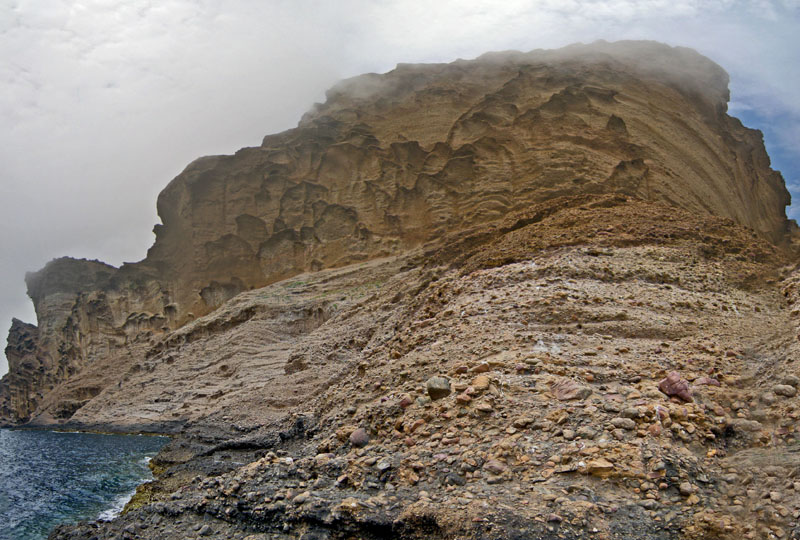
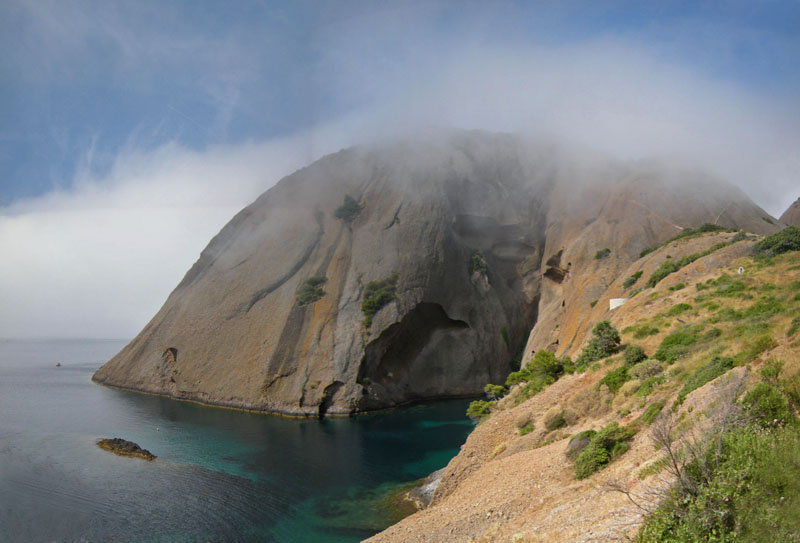
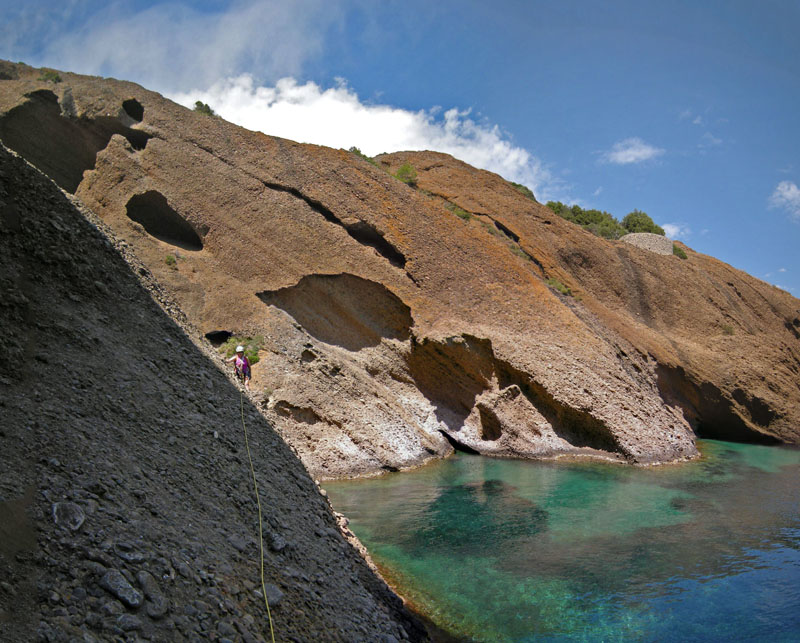
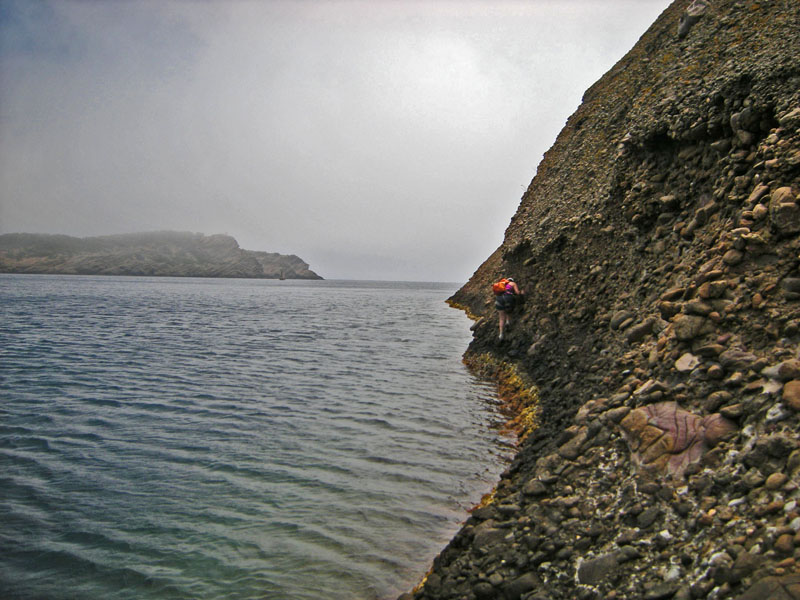

Details
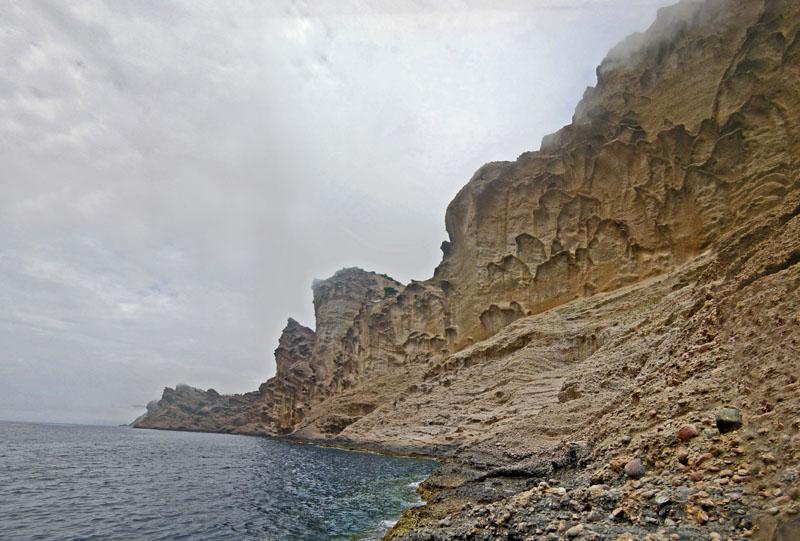
Risks: Handholds and footholds could break off from the puddingstone rock. So if a section has exposure, it is better to rope up even if the climbing seems easy on positive holds.
Difficulties: One short section around 4c/5a (but a clever leader could make it much easier for followers). A short section around 4a/4b which is fully avoidable (or very protectable by the Leader). Several required sections of 3b which are very exposed.
Distances: The distance of the traverse on the puddingstone rock from the viewpoint terrace to the grass at the top of the west exit is about 1400 meters. The distance of the sub-section down close beside the water is about 1200 meters. (And the distance from Parking Mugel to the viewpoint terrace is about 675m, and from the grass at top of west end to parking is about 1000m – so total loop is about 3 km).
This tour is also called “la Traversée des Parpèles”.
access
From the parking for Parc du Mugel walk roughly South about 250m to the entrance to Parc du Mugel (latitude/longitude approx~ N43.1654 E5.6061), and continue South on a lane for another 200m, down then up - ends near a building (lat/long ~ N43.1641 E5.6071).
To reach the viewpoint terrace: Turn right and go around the South side of the building, SouthEast about 150m along the edge of the steep slope until see a platform with low white walls: the viewpoint terrace (lat/long ~ N43.1629 E5.6057)
To reach the impluvium: Just before the end of that lane, turn sharp Right onto another lane to go West around the North side of building. Soon look to the SouthWest to a dome of puddingstone rock with the “impluvium”: two curving drainage ditches each lined with concrete which intersect at their bottom to form a V shape. After about 50m, leave the lane and aim for the impluvium. Another 100m pass by a cistern. Another 100m enter a grove of trees, then up to the water basin (lat/long ~ N43.1627 E5.6048) at the bottom of the two concrete drainage ditches.
East entry: reach the narrow cove / chimney
big rappel option: The first choice is whether or not to make one long 50-meter rappel. It’s an exciting rappel because you can’t see exactly where it is going, and it has a short overhanging section. Its big advantage is that (at least with 60-meter ropes and some diagonal aiming near the bottom) it gets you directly to the tree above the narrow cove and creek, with minimal climbing difficulty (3a) and mimimal risk of a hold breaking off. Which is why it is shown in guidebooks.
The disadvantage is what to do with that long rope afterward. Three main options: (a) pull down the ropes and carry them for the entire traverse – but there is virtually no use for even one rope that long; or (b) use only one long rope and just leave it hanging from the anchor (and other parties could use it); or (c) have only the followers rappel on that rope, then the Leader pulls the rope back up the top anchor, and hides it somewhere (so the Leader carries only a shorter rope for the entire traverse). Then the Leader uses one of the other options described below to rejoin the followers at the tree above the narrow cove. If the party is doing another climb afterward (especially the summit of Bec d’Aigle by the northwest face) then it is very convenient to retrieve the rope.
The anchor for the big rappel is about 60m SouthEast down from the water basin at the bottom of the impluvium, about 15m directly below a clump of bushes to the SW side of the gully going down to the sea from the water basin. The least exposed and technical way is to start down thrashing through the trees in the gully’s NE side, then when get near the level of the clump of bushes, traverse Right (3a) out of the gully. For experienced down-climbers who can handle a little exposure, it is quicker to stay on rock (3b a little exposed) above and SW from the gully. Once get lower than the clump of bushes, look for a white rope which connects the bolts of the anchor (lat/long ~ N43.1625 E5.6053)
down-climb option: section 1a: Technically easier but much longer is to start at the impluvium and roughly follow the gully SouthEast down (passing by the second 10m rappel anchor) to the sea (3b). section 1b: Quicker to start from the viewpoint terrace, make some zigzags or ups-downs to find easier climbing and trend SW toward the second 10m rappel anchor (4a somewhat exposed).
Section 2: Next go down to the edge of the water below the second 10m rappel anchor and make the exciting entry (with bolt nearby) into traversing under the dramatic overhang of the second rappel, with feet almost in the water (4b on big positive holds). Even if a hold breaks off, just fall into the water. Afterward some easier going toward the narrow cove.
Section 3: Enter the narrow cove low, traverse to its end at a chimney with tree above. Problem is that as you go farther in, the holds get smaller, the climbing goes higher above the water, and the water gets shallower or disappears (4a/4b somewhat exposed). Wouldn’t want to have a hold break off there with only 5cm depth of water below. About 20 meters above this are 2 bolts just below a cave (also a thread placement in mouth of cave) which the Leader could use for an anchor to belay the followers on the traverse. And perhaps there might be a bolt lower and closer to the traverse itself.
shorter rappel options: first 10m rappel: There is an anchor for a 10m rappel near the southwest side of the viewpoint terrace. Doing this rappel avoids the exposed 4a down-climb with complicated route – which could be pretty intimidating for the first climbing moves of the day, especially for the many many climbers who get little practice in down-climbing.
Second 10m rappel: Much lower and SW from the first rappel is a dramatic overhang with a rappel anchor at its top. The rappel is done completely hanging in free space, a great photo opportunity. But with calm sea, for those who can climb 4b on big holds, doing this rappel is a waste of time.
traverse East -> West
From the chimney below the tree above the end of the narrow cove, traverse 10m to a steel cable. Protection 1 bolt at the end of the cable, 1 bolt (with missing or badly-damaged hanger) halfway between tree and cable as of 2017 - (perhaps wrap a short sling around the intermediate bolt?). At least one move with not-so-positive handholds and not-so-positive footholds, with some exposure. Some say it is 4a/4b, some say 5a – all depends on how you feel about balancing and relying on slopy holds.
Then a ways traversing along the steel cable – for safety it makes sense to clip onto it with a sling or leash – most people grab the cable with both hands and hang out on it. After the cable is done, the rock is still steep (3b) with some exposure, could be intimidating if not accustomed to it. Then it gets easier, and about 160m from the chimney + tree there’s a little rest platform.
After this it is simplest to just stay close to the sea. There might be various paths, even with bolts, which go up away, but some of these are dead ends. During the first half, there’s not much variety of rock or views near the sea, so it is tempting to look for “gardens” up closer to the cliffs – but unless you know which paths work (or have time to waste retreating from dead ends), it is simple just to stay along the water.
About 180m south from the resting platform, the coast turns west, now with many more resting spots. Another 200m come to a view of the Semaphore up on the heights of Cap Canaille. The coast turns north and about 80m reach a spot which seems to concentrate the waves crashing onto the rocks – so that could be a good place to stop for a snack (lat/long ~ N43.161 E5.6045). Coast turns northwest, about 220m to another spot with (lesser) crashing waves. Then an exciting section on a narrow ledge, very exposed. Another 120m go close under a dramatic overhang. Another 80m and find some protruding gray plastic pipes near a blue paint mark underneath a gigantic overhang.
West exit
Different parties have made the exit up from water level in different ways – and new variations might get added – see the French-language itinerary description and photos and outing reports. Looking for blue paint marks is often helpful.
Here’s a way that worked and had lots of fun climbing … After the gray pipes, stay not far above the water - (with another very exposed ledge, short) - until come around a corner to look North into the Anse Gameou bay, and here it looks impossible: overhanging on the right side and a big rock in the water to the left, separated by narrow deep channel. Turn around and perhaps go back about 5-10 m (lat/long ~ N43.1637 E5.5992).
See arete with little notches rising up R from above near S end of big rock + narrow channel. Climb up thru two little notches (bolt at the second). Next a steep move up on big holds, then continue up an arete almost to its top. Turn left and go down a little under shallow cave, cross some loose rock. Make a generally rising traverse roughly NE, perhaps with some slight zigzags or ups+downs. Following blue paint marks seems to work well. At least one bolt along the way, and another near the end of this rising traverse (and various opportunities to protect by threading slings around protruding rocks or through holes). After that bolt, find another arete going up Right and follow that up to arrive at a grassy platform (lat/long ~ N43.164 E5.600).
Return to start: Walk roughly North gently down on vague paths about 40m to reach the firefighters dirt road (lat/long ~ N43.1644 E5.600). North on this about 250m until it meets the city streets. Continue straight N another 150m to Avenue du Mugel. Turn right on that and walk East about 500m toward the Parking and the entrance to Parc du Mugel.
Or more exciting and spectacular: Do the Traverse of the W ridge]] to the highest (East) summit of the Bec de l’Aigle, then descend the [[routes/420032|NW face route. Or (easier + quicker) stop the traverse at the Belvedere col, then down the walking trail. Or (longer + harder) continue further E over the summit and down ENE to the edge of the Sea, with the Variation “West+East Integrale”.

The text and images in this page are available
under a Creative Commons CC-by-sa licence.
Download the Whympr App to view this route in 3D.
- Route search (100 000)
- Community returns
- Weather forecast
- Avalanche bulletin
- Race book
- Creation of tracks
- Topographic map (including IGN)